


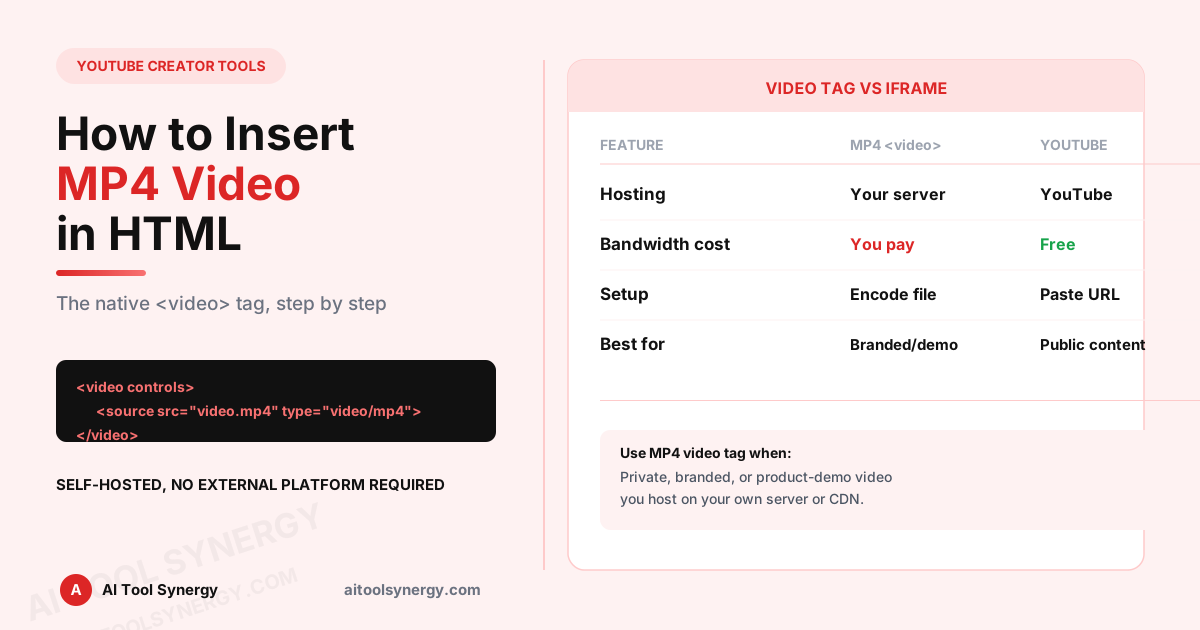
<video> tag with a <source> element pointing to your .mp4 file. Unlike YouTube embeds, this plays a file you host yourself — no iframe, no external platform involved.How to Insert MP4 Video in HTML
If you want to insert MP4 video in HTML rather than embedding a YouTube link, you’re looking for the native HTML5 <video> tag — not an iframe. This is the right way to insert MP4 video in HTML when the video file lives on your own server or CDN, such as a product demo, a background hero video, or branded content you don’t want hosted on a third-party platform.
This guide covers the exact syntax to insert MP4 video in HTML, how to add fallback formats and captions, common playback issues, and how this compares to embedding a YouTube video instead.
The Basic Syntax to Insert MP4 Video in HTML
Here is the minimal, working code to insert MP4 video in HTML, using the <video> and <source> tags together:
<video width="640" height="360" controls>
  <source src="myvideo.mp4" type="video/mp4">
  Your browser does not support the video tag.
</video>
The controls attribute adds the browser’s built-in play/pause/volume UI. The text inside the tag (“Your browser does not support…”) only displays in extremely old browsers that don’t support HTML5 video at all — virtually none in practice today.
Adding Multiple Formats for Better Browser Support
Not every browser supports every video codec equally well. To insert MP4 video in HTML with maximum compatibility, list multiple <source> elements — the browser uses the first one it can play. This only applies to self-hosted files; if you’re actually working with YouTube content, the Embed Code Generator handles format compatibility for you automatically:
<video width="640" height="360" controls>
  <source src="myvideo.mp4" type="video/mp4">
  <source src="myvideo.webm" type="video/webm">
  <source src="myvideo.ogv" type="video/ogg">
</video>Common <video> Tag Attributes You’ll Actually Use
Once you insert MP4 video in HTML using the basic syntax above, these are the attributes you’ll reach for most often:
| Attribute | What it does | Example |
|---|---|---|
controls | Shows play/pause/volume UI | <video controls> |
autoplay | Starts playback automatically (usually needs muted) | <video autoplay muted> |
loop | Replays the video continuously | <video loop> |
muted | Starts with sound off | <video muted> |
poster | Sets a preview image before playback | <video poster="thumb.jpg"> |
preload | Controls how much loads before playing (auto/metadata/none) | <video preload="metadata"> |
How to Insert MP4 Video in HTML With Captions
For accessibility and SEO, add a caption track using the <track> element inside your video tag:
<video width="640" height="360" controls>
  <source src="myvideo.mp4" type="video/mp4">
  <track src="captions-en.vtt" kind="subtitles" srclang="en" label="English">
</video>
Captions require a separate .vtt (WebVTT) file with timestamped text. This is worth doing for any video with spoken content — it materially helps accessibility compliance and is a genuine on-page SEO signal search engines can read.
Responsive MP4 Video: Making It Scale on Mobile
Fixed pixel widths (like width="640") don’t scale on smaller screens. To insert MP4 video in HTML responsively, use CSS instead of hardcoded dimensions. Note this responsive technique is specific to self-hosted <video> tags — YouTube iframes from the embed generator use a different responsive wrapper approach:
<style>
.responsive-video { width: 100%; height: auto; }
</style>

<video class="responsive-video" controls>
  <source src="myvideo.mp4" type="video/mp4">
</video>
MP4 <video> Tag vs YouTube Iframe Embed
Both let you display video, but they solve different problems. If you’re deciding which one you actually need:
| Feature | HTML5 <video> (MP4) | YouTube Iframe Embed |
|---|---|---|
| Hosting | Your own server/CDN | YouTube’s servers |
| Bandwidth cost | You pay for it | Free — YouTube covers it |
| File prep required | Yes — encode/compress the file yourself | None — just paste a URL |
| Player customization | Fully custom via CSS/JS | Limited to YouTube’s parameters |
| Discoverability | None — not on YouTube’s platform | Benefits from YouTube search/recommendations |
| Best for | Private, branded, or product-demo video | Public content, quick embeds |
If you’re actually trying to embed a YouTube video rather than a self-hosted file, see our full guide on how to embed a YouTube video in HTML instead — the syntax and tag are completely different from what’s covered here.
Why Won’t My MP4 Video Play in HTML?
The most common causes, in order of how often they actually happen:
autoplay with muted if you need it to play automatically.When You Should Use the Video Tag vs an Iframe
If your goal is genuinely to insert MP4 video in HTML because you have your own file to host, the <video> tag covered throughout this guide is correct. But if the video already exists on YouTube, don’t re-download and re-host it — that’s unnecessary bandwidth cost and effort. Use our free YouTube Embed Code Generator instead and embed it with an iframe, which is a completely different tag and method from inserting MP4 video in HTML.
Self-Hosted MP4 vs a Video Embed Code Generator
If your actual goal is showing a YouTube video rather than a file you host yourself, building the code by hand isn’t necessary — our free YouTube Embed Code Generator creates the correct iframe embed code automatically. Use the native <video> tag covered in this guide specifically when you have your own MP4 file to host, and use the generator when the video already lives on YouTube.
Embedding a YouTube Video Instead?
Skip the manual iframe coding — generate clean, validated embed HTML in seconds.
Try the Free Embed Code GeneratorFrequently Asked Questions About Inserting MP4 Video in HTML
Use the <video> tag with a <source src=”file.mp4″ type=”video/mp4″> element inside it, plus the controls attribute to show playback controls.
The <video> tag is used for self-hosted MP4 files. The <iframe> tag is used for platform-hosted video like YouTube.
MP4 (H.264) alone plays on the vast majority of modern browsers and devices. Adding WebM as a second source is optional and mainly helps with file size, not compatibility.
The most common causes are a broken file path, an unsupported codec inside the MP4 container, or autoplay being blocked because the video isn’t muted.
Set width to 100% and height to auto via CSS instead of using fixed pixel width and height attributes on the video tag.
Yes, using a <track> element with a WebVTT (.vtt) captions file inside the video tag.
Use the video tag for private, branded, or product content you host yourself. Use a YouTube embed for public content where you want free hosting and platform discoverability.
Yes, but only if the video is also muted. Browsers block unmuted autoplay by default across nearly all modern devices.
Once you know how to insert MP4 video in HTML with the native <video> tag and the Embed Code Generator for YouTube content, you have full control over hosting, styling, and playback behavior — something YouTube embeds don’t offer on their own. Use this method for self-hosted content, and reach for a YouTube embed when the video is already public on the platform.
Related Reading From Authoritative Sources
For deeper reference, see MDN’s HTML video element documentation, the W3Schools HTML5 video reference, MDN’s guide to media container formats, and web.dev’s guide to web media formats.
Explore More Free YouTube Creator Tools
Thumbnails, banners, QR codes, channel stats and more — all free, no signup required.
Browse YouTube Creator ToolsRelated Articles
Explore our full free tools directory or visit the AI Tool Synergy homepage for more free SEO, AI, finance, and creator utilities.